Thoughts from the Dean's Desk
Kara D Williams
How to Clean and Care for Your Athame'
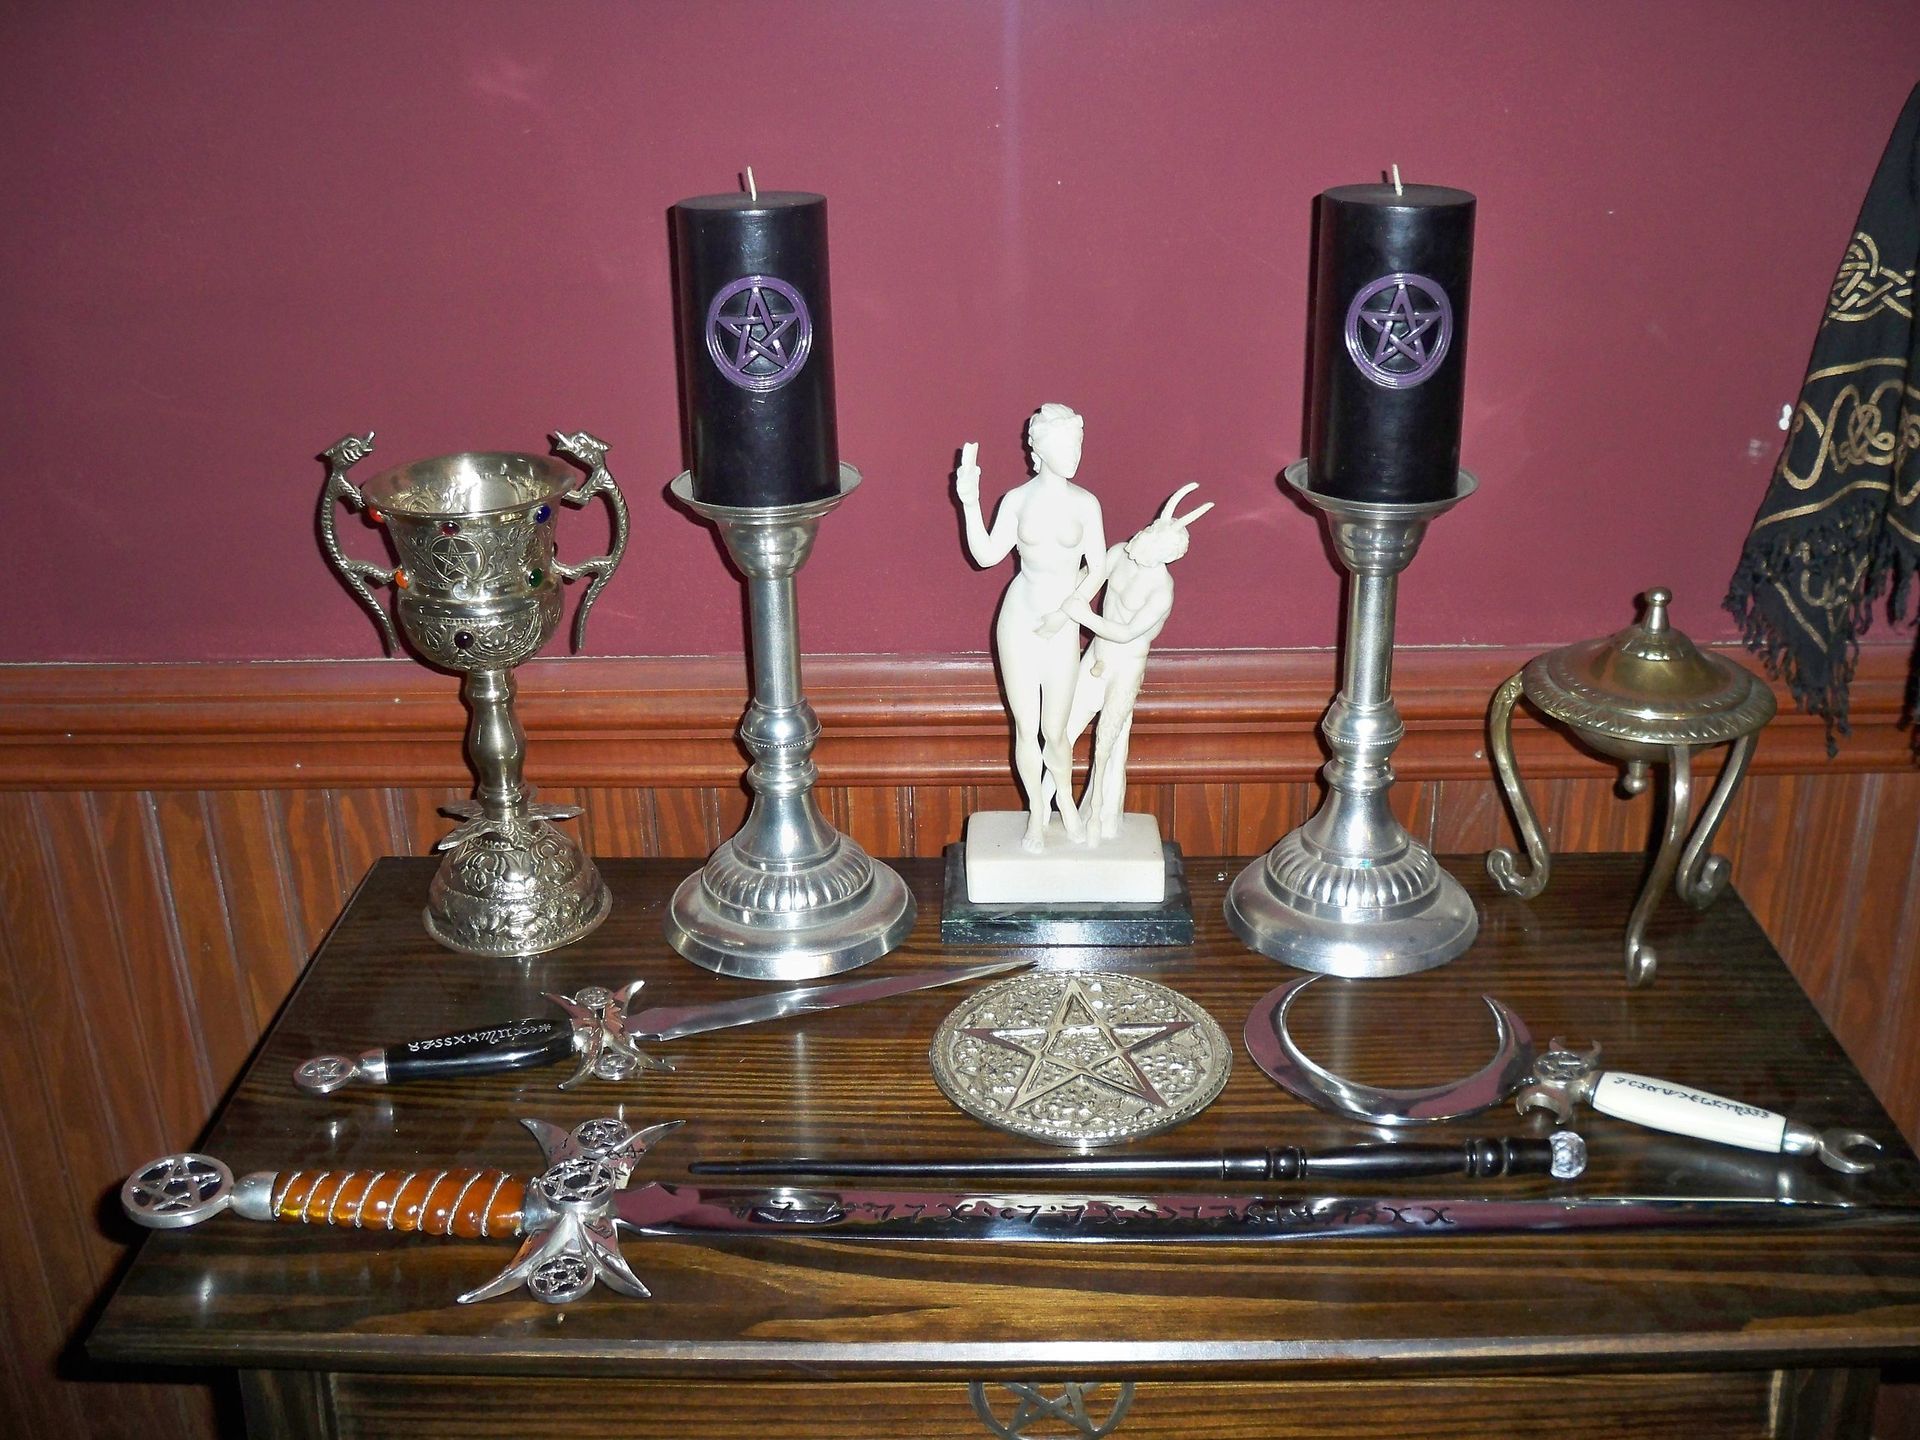
Most Wiccans have altar tools. Religious items that hold special sacred purposes that we use on our altars and in our rituals. All of these tools are very personal to each practitioner. Some Traditions have specific types of tools or tools that are made in special ways. The Athame' is one that is well known in Wicca - no matter how you pronounce it!
In the tradition that I am a part of, the athame' is a tool of air. It cuts and slices the air and the veil so that we can cast circle and draw pentacles to call quarters. Other traditions place it elsewhere. At WSTS in our Ritual 101 class, we tell our students that we can make a case for all of the tools to sit in different elements, it's your personal practice that determines where to place them. However, when working with a group, we all need to put them in the same place so that we are all in focused energy in ritual. So please, place your athame' where it works for you!
One of the things that comes with owning an athame' is cleaning it so it doesn't rust. Some people use a blade type that isn't prone to rust and so this isn't as much of an issue, but if you have never worked with more natural metals, it adds something to the tool. My first athame' was a gift from a friend and very dear to me. The story of how I how learned to keep it from rusting after dipping it in wine each ritual is below and was written years ago, when I was new to the craft. I've edited it a bit for clarity, but otherwise this is pretty much the original article. Hopefully, you will find useful information in it. Oh yeah, Athena had a hand in this event as my first patron deity - it was the first time she spoke to me!
Years before I began walking a Wiccan path, I had acquired a dagger from a friend. I dearly wanted to use this blade as my athamѐ, but it was a steel blade and extremely rusted. To be honest I wasn’t sure it was salvageable as when a blade is that rusted it can become pitted and ruined. Over the years I had heard from several friends about how to clean a blade and was confident that I knew what I was doing. For some reason I never could get to the store to pick up the supplies needed. One day I was driving past a Lowe's and heard "Turn Left". I turned left into the Lowe's parking lot as instructed and had this magical experience!
I couldn’t locate the supplies that I thought I needed, so I went in search of a clerk to assist me. While asking one gentleman where to find something, he said I had to talk to a different clerk. When she arrived she asked what I wanted the supplies for and I told her I needed to clean a rusted steel blade. Her reply was, “Oh don’t use that stuff – you’ll ruin the blade! Come with me.” Off she sped in her motorized wheelchair, and I had the first clue that Athena was guiding me that day. I spent the next hour and a half getting a class in how to restore, clean, and care for blades! Turns out she had a degree in metallurgy and specialized in making swords! The following information comes from this wonderful lady who shared her knowledge that day, even though she kept saying, “I really don’t like talking with people.”
After successfully following her instructions I returned to Lowe's to tell her how my project went. I couldn't find her and was told that no one in a wheel chair worked there! I think Hephaestus paid me a visit to help me out that day. At any rate, this still ranks as one of my most magical experiences in the craft and really taught me the lesson of listening to deity when they speak!
CAUTIONS: The following information is for cleaning and caring for steel blades only! There are many types of blades out there made from other metals and I have no idea how this process would affect them. Also, use care when working with a sharp tool – it is very easy to cut yourself or otherwise damage things or others. Even dull knives cut. Please read all instructions before beginning!
Supplies Needed:
Soft cloths
Rubber gloves
Block of wood
Dremel tool with appropriate sanding attachments (cleaning/polishing kit)
Paste wax
Light #4 polishing compound
Naval Jelly rust dissolver
STEP 1:
Use a block of wood to place the point of the blade into so that the blade doesn’t slide and cut you or anything else. I found in working with my blade that it was small enough that this step wasn’t needed throughout the process, but a larger blade would definitely require one.
Using rubber gloves and a soft cloth, apply the naval jelly to one side of the blade and allow it to sit for about 10 – 15 minutes. Wash off under running water and check results. If rust is still visible, reapply until all rust is gone. Repeat on the other side of the blade. Be careful not to get this on the finger guard of the blade if it is not rusted or made of steel as it will damage the metal. This stuff is amazing! It will eat the skin off your hands, so make sure to use rubber gloves and to clean all of it off the blade before moving on to the next step! Use soap if necessary.
STEP 2:
Use the heavier duty cleaning compound that comes with the Dremel kit (if you don’t have a kit then you’re looking for a #2 or #3 cleaning/polishing compound) and one of the polishing cushions to begin polishing the blade. Run the polishing cushion through the compound and then apply it to the blade. The compound is rather dry. This makes the blade turn black while you are polishing.
Work from the hilt to the point while polishing and make sure to work with the grain of the metal! Not sideways across the blade, but lengthways down the blade. This way the energy will flow from the hilt to the point and you won't mess up the finish of the blade. You may have to work sideways right at the hilt, just don’t spend a lot of time there and be sure to blend the edges of that out and down the length of the blade. Repeat on the other side. Wash the polishing compound off under running water – using soap if necessary.
STEP 3:
Repeat Step 2 using the #4 polishing compound and a new cleaning pad. Wash. At this point your blade should be free of all rust and be well polished. If not repeat until it is! Once you do the next step, you can't polish any more without starting all over.
STEP 4:
Use rubber gloves, wooden block, and soft cloth to apply the paste wax after letting the blade dry thoroughly! Do not begin waxing until the blade, hilt, etc. is completely dry. I let mine sit over night to make sure. Otherwise, it will rust again and you will have to start over.
Apply a layer of wax, rub in, and wipe off excess. Allow wax to dry. Repeat this procedure on both sides of the blade at least 3 times, allowing the wax to dry between coats, to ensure a good seal on the blade. If you’ve been using the Dremel tool, this is the step that is the most likely to cause you to cut yourself! Be Careful! The wax will not affect the cutting edge – assuming you want or have one - you would sharpen the blade before applying the wax. Most of us don't keep an actual sharp edge on our athame'. It seals the blade against humidity and skin oils so that it should not rust again.
After several years, you may want to reapply a layer of wax. If you were using the blade to cut things with, you would want to wipe it clean after use and wax as needed as the use would cause the wax to wear off the blade surface. You should always clean and dry your athame' after dipping it into the wine so it doesn't go into the sheath damp as that will cause issues as well, both with the blade and the sheath.
Simple Really!
That is all there is to it. It took me two days to do this because I allowed it to dry before beginning the waxing process. It is a really simple procedure. If you don’t own a Dremel tool, it will take longer as you have to do the cleaning/polishing by hand. This is also the perfect time to add energy and intent to your athamѐ. Enjoy your new blade – care for it well and it will last you a lifetime!
Note:
I just recently retired this athame' and it was still spotless. I have never needed to repeat this process. That was over 19 years ago. May your results be as wonderful!